| # Matter Telink Shell Example Application |
| |
| You can use this example as a reference for creating your own application. |
| |
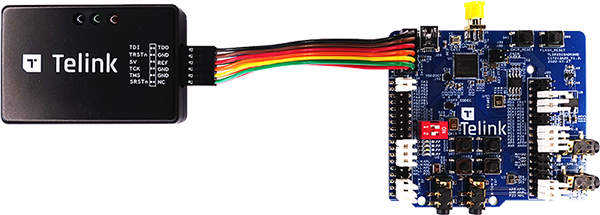
|  |
| |
| ## Build and flash |
| |
| 1. Pull docker image from repository: |
| |
| ```bash |
| $ docker pull ghcr.io/project-chip/chip-build-telink:1 |
| ``` |
| |
| 1. Run docker container: |
| |
| ```bash |
| $ docker run -it --rm -v ${CHIP_BASE}:/root/chip -v /dev/bus/usb:/dev/bus/usb --device-cgroup-rule "c 189:* rmw" ghcr.io/project-chip/chip-build-telink:1 |
| ``` |
| |
| here `${CHIP_BASE}` is directory which contains CHIP repo files **!!!Pay |
| attention that OUTPUT_DIR should contains ABSOLUTE path to output dir** |
| |
| 1. Activate the build environment: |
| |
| ```bash |
| $ source ./scripts/activate.sh |
| ``` |
| |
| 1. In the example dir run: |
| |
| ```bash |
| $ west build |
| ``` |
| |
| 1. Flash binary: |
| |
| ``` |
| $ west flash --erase |
| ``` |
| |
| ## Usage |
| |
| ### UART |
| |
| To get output from device, connect UART to following pins: |
| |
| | Name | Pin | |
| | :--: | :---------------------------- | |
| | RX | PB3 (pin 17 of J34 connector) | |
| | TX | PB2 (pin 16 of J34 connector) | |
| | GND | GND | |